I am also having this issue on a 2015 iMac recently upgraded to macOS Catalina. My library is stored on the internal storage 'Macintosh HD' and exhibits the same behavior. Opening Photos to a blank window and an alert that reads 'Photos cannot find the System Photo Library named “Photos Library”'. You can export photos in the original file format in which they were imported into your Photos library. A Live Photo is exported as two separate files: a still image file and a video file. In the Photos app on your Mac, select the photos you want to export. Choose File Export Export Unmodified Original. With Photos for macOS, you can easily manage, enhance, and share a large library of photos. Thanks to macOS Catalina and iPadOS, the latest version offers a new level of compatibility across devices, aligning the user experience as well the editing and AI-powered organization tools. Jul 18, 2019 Photo Library First Aid is the build-in feature of iPhoto. It is the most direct way to resolve issues such as the library appearing to be unreadable, missing photos after macOS Catalina update, etc. Now, let's start to recover photos disappeared from Mac using Library First.
- Photos Library Mac Os Catalina Release Date
- Mac Os Catalina Download For Windows
- Photos Mac Catalina
- Photos Library Mac Os Catalina Free
- 1. Mac Files Tips
- 2. Mac Software
- 3. Mac Storage Tips
- 4. Mac Troubleshooting
- 5. Mac OS
“Library is not working in photos in macOS Catalina. Recently I updated to macOS Catalina but after the update, photos are not working. I am getting library could not be opened error. How can I recover from it?” – From Apple Discussion.
The library not working is one of the most famous macOS issues. So, the users have faced it numerous times and it mostly occurs after an update. Although it is a well-known error, when this error occurs, there are also several associated issues like;
- the library could not be opened
- Photos app crashes on launch in Catalina
- photos are missing after Cataina
- updating library is not working in photos
So, this needs to get fixed immediately in order to enjoy the much-awaited advanced features of macOS Catalina. Just read the article below and you will get your answers.
- Part 1: Fix Library is Not Working in Photos in macOS Catalina
Part 1: Fix Library is Not Working in Photos in macOS Catalina
There are multiple ways to fix photos library could not be opened. These procedures are effective. So, follow the details provided below, carefully.
Solution 1: Use Mac Built-in Photos Library Repair Tool
If Mac photos the library could not be opened or it is showing unexpected errors, then Photos Library Repair Tool is one of the best ways to fix it. This is a built-in repair tool, comes with macOS and it is pretty easy to use.
Step 1: Press and hold the “Option” and “Command” keys while photos are opened on your Mac.
Step 2: Then, a dialog box will appear, click on “Repair” to proceed.
You will be asked to provide a password for your user account. The tool will analyze the library database at the beginning. Depending on the size of the library, the repair could take a while.
Solution 2: Update Photos App If It is Not Up to Date
It is possible that Photos app on your Mac has not been updated in a while. As you have just updated to Catalina, the latest version of macOS. It is possible that macOS Catalina is interfering with the older version of Photos app.
So, if you just update the Photos app to its latest version, the issue may get fixed.
Solution 3: Force Quit Photos then Re-launch to Fix Library is Not Working in Photos in macOS Catalina
Photos Library Mac Os Catalina Release Date
It is also possible that you are facing a temporary glitch with the app. So, force-quit the Photos app and launch it again.
Possibly the library issue may get fixed.
Solution 4: Disable Autoplay Videos Setting in Photos
This is a very simple fix. Here’s how to do it;
Step 1: Click Launchpad from your mac desktop and open Photos app.
Accidently delete photos from Photos/iPhoto library on Mac without knowing how to recover? This article will give the most effective hints to help you recover deleted photos on mac. This site uses cookies. Feb 21, 2020 Recover deleted iPhoto Library photos on Mac from Time Machine Step 1. Connect your Time Machine drive to Mac and run Time Machine from System Preference. Scroll the timeline on the right side, click the desired backup. Navigate to the backup of your iPhoto library (by. Jul 26, 2006 Click once on the thumbnail of each photo you want to delete (you can also Shift-click to select multiple contiguous photos or Command-click to select multiple noncontiguous photos), and then hit the Delete key. Those images will disappear from the library and be moved to iPhoto's internal Trash, at the bottom of the Source list. Accidentally deleted photo library mac. In the list of files on the right, scroll down and look for your iPhoto library – it’ll be a little iPhoto icon, and the name will read, unsurprisingly, iPhoto Library. Don’t worry about accidentally deleting your Photo Booth or Photos libraries; you’ll be able to see which one is which. To actually delete the library, you can do one of three things: Click on the iPhoto Library listing, and without letting go of your mouse. Jul 08, 2009 How to restore iPhoto library that was accidentally deleted? - Answered by a verified Mac Support Specialist. Click the Open button and this should launch the iPhoto application with your Photo library in tact. I have not formally used the Stellar Phoenix Photo Recovery software for Mac., but I have read mixed results on its overall.
Step 2: Go to Photos > Preferences and you will find the option Autoplay Videos and Live Photos.
Consolidate multiple photo libraries mac. When Photos came along, I set it up to work with either library.If you’ve done this, too, then you know you must hold down the option key when you launch Photos to choose which Photos Library you want to use, unless you’re lucky enough to have the target library open right off the bat (and that never happens). Saturday, July 1st, 2017 Author:If you’ve been working with the Mac’s Photos app (or even the ) for any length of time, there’s a good chance you have multiple image libraries to help you organize your pictures.In the past, I’ve used Aperture to store my business-related images, and iPhoto to keep my personal pictures organized.
Now, simply uncheck the feature.
Solution 5: Reinstall macOS Catalina to Fix Library is Not Working in Photos in macOS Catalina
Mac Os Catalina Download For Windows
You should also try re-installing macOS Catalina if the error still hasn’t disappeared. But the proper way to re-install macOS Catalina is to use Mac’s Recovery Mode. Here’s how to repair photo library Mac:
Step 1: So, restart your Mac. While the device is starting, you need to hold “Command and R” keys together in order to enter Recovery Mode.
Step 2: As the follow-up window appears, click on “Reinstall macOS”. Then, click on “Continue”.
Step 3: Then, you have to agree to “Terms & Conditions”.
Step 4: Finally, select the drive where you want to install macOS Catalina and click “Install”.
Part 2: What If Your Photos are Lost after Fixing Library is Not Working in Photos in macOS Catalina
There is a possibility that photos from your photo library may get erased even after fixing the library. If that happens, you need to make a photo recovery Mac.
Although, the discussed solutions for the library fix are very effective but so many changes were made on the Mac system that lost photos are a possibility. Now, in order to recover lost photo on Mac, an effective data recovery program is required and it needs to be used immediately. As the longer you wait, the chances of photo recovery gets slimmer.
So, stop using the Mac and use Tenorshare UltData-Mac Data Recovery. UltData is a great software developed by Tenorshare, provides effective data recovery with precision and software is quite secure as well. Here are a few important features of the software:
- UltData is capable of recovery of any sort of lost files on Mac.
- May it be a deleted file of lost due to format, UltData will make the recovery anyway.
- Files can be restored from internal hard drive, as well as external drives.
- The data recovery rate is 100%.
- The program is also safe to use and very secure.
Now, the recovery of those lost photos will be very easy with UltData. Just follow the steps below:
Step 1: Download and install Tenorshare UltData for Mac on your computer and launch it.
Step 2: Choose the location of the lost photos and click “Scan” to proceed.
Step 3: It will take a while to complete the scan but upon its completion, the scan results will get displayed on the screen. You can click on them to preview the details.
Step 4: The lost files will be among the results. Just choose them and click “Recover” to restore them successfully.
You also have to choose a path where the restored photos will be located. Don’t choose the same location from they were originally, erased. Doing it will cause permanent data loss.
Part 3: Some New Features of Photos in macOS Catalina You Need to Know
The macOS Catalina is the newest addition to the macOS line up. It is brand new, better, faster and equipped with some amazing new features. Let’s have a look.
Photos View
Photos Mac Catalina
All your photos and videos will be displayed on a grid. This is the new Photos View. You will be able to zoom in and get a larger view and additional details. The photos on the grid will be visible in a square format.
Live Photos and Videos
Live videos and photos are also included in the photo library. You just have to click “Auto-Play” when they are visible on the screen. It uses a dynamic display system.
Memory Movies
You will be able to view memory movies that you created on your iOS device. So, finally, memory movies came to Mac.
Machine Learning
Machine learning is included. It helps to realize the photos app, who is in the photo and what is going on. This helps users in many ways.
Conclusion
Hence, you will be able to repair photo library Mac and it will be easier if you just follow the detailed solution mentioned in the article, above. But as mentioned before, it is possible that you may lose some of your stored images from the library while fixing it. If it happens, you need to stop using the Mac immediately and use Tenorshare UltData for the fast and successful recovery of those photos.
- 1. Mac Files Tips
- 2. Mac Software
- 3. Mac Storage Tips
- 4. Mac Troubleshooting
- 5. Mac OS
'I downloaded Catalina and now find my iPhoto does not work any more! How can I get it to work? DESPERATE!'
If you are facing the iPhoto not working on Mac Catalina issue, it is because that is the way things are designed. iPhoto has actually been retired and Apple no longer supports it. As a replacement to the app, you now have the Photos app that does pretty much all the tasks as the iPhoto app.
Photos Library Mac Os Catalina Free
But if you have been an iPhoto user and you are now confused as to what to do to access your photos as the app no longer functions, you might want to look for solutions. The following guide should provide you with some tips on how you can overcome the issue and get access to your iPhoto photos. There are actually multiple ways to resolve the issue so you should not have any issues.
Problem 1. iPhoto Not Working/Opening, How to Access Photos in iPhoto?
'Can I retrieve all the photos I still had in iPhotos? Once I downloaded Catalina, iPhotos could no longer be opened. I didn't realize Catalina had that feature. My thousands of iPhotos seem lost. Is there anything I can do?'
If you are like the above user and the iPhoto not opening on Mac Catalina at all, it is because the update is preventing that from happening. Any Macs that runs macOS Catalina or later will not let you launch iPhoto because the app has been retired long ago and Apple does not support it any longer.
The following are some of the things you can do to access your photos that were stored in the iPhoto app on your Mac.
Solution 1: Migrate to the Photos app that comes with Catalina
iPhoto does not work starting with Catalina and there is no chance it will work in any future macOS updates. Therefore, your best solution is to get your photos migrated to the new replacement app you have on your Mac.
The new Photos app lets you easily import your photos from iPhoto. The following shows how to do the task.
Step 1. Hold down the Option key on your keyboard.
Step 2. Launch the Photos app from the Launchpad on your Mac.
Step 3. A prompt will appear asking you to select the library you want to access. From this list, choose your iPhoto library and click on Choose Library.
Your iPhoto library along with all of your photos will launch in the Photos app. You can now manage your photos in this app from now on. That is how you get the images from iPhotos library to Photos library.
Solution 2. Recover Missing Photos in iPhoto If You Failed to Migrate
In an unfortunate case if the migration procedure did not go well and you ended-up losing your photos, you will need to use a recovery software to recover your photos.
Tenorshare UltData - Mac Data Recovery, a software that lets you easily and quickly recover lost files on your Mac. You can use it to recover your lost photos in a few clicks as shown below.
Step 1 Download and install the software on your Mac. Launch the software when it is installed. On the main interface, click on the drive you want to scan and then click on the Scan button.
Step 2 Select Photos in the left sidebar and you will see your photos in the right-hand side pane. Select the ones you want to recover and click on Recover.
Step 3 Choose the folder where you want to save your recovered photos.
Problem 2. How to Upgrade iPhoto on Catalina?
'I upgraded to Catalina and I need to use iPhoto. How do I upgrade it?'
Soon as you notice that iPhoto no longer works in Catalina, you will likely start finding ways to get the app to somehow work on your Mac. Not only with iPhoto but you will do it with any other app when it refuses to run on your machine.
Solution: There is no solution
Unfortunately, there is no solution to your issue. iPhoto is retired and no matter how hard you try to run it on your Mac running macOS Catalina, the app will just not run. It is because the app uses an old framework that Apple no longer supports.
Problem 3. Is There an Application like iPhoto?
'I prefer using iPhoto over Photo. Is there an application like iPhoto that will run using the new OS Catalina?'
It is natural to look for alternatives when an app does not work on your machine. Since iPhoto has stopped working on your Mac, you might want to see if something similar is available in the market for you.
Solution: Use iPhoto Alternative Software like Google Photos
Fortunately, you have a great alternative to iPhoto available for your Mac. It is Google Photos and it allows you to upload, manage, and keep your photos on the cloud. It provides 15GB of free storage for original quality photos and unlimited storage for photos that are set to high-quality.
Problem 4. How to Backup iPhoto library Before Catalina Upgrade
'How do I find my iPhoto library on my hard drive? I want to put all my iPhoto library on an external disk before I even think about upgrading as I have read iPhoto will no longer work when Catalina is installed. I genuinely hate the photos app and much prefer the ease and control I have with iPhoto. When I click on the iPhoto in my applications folder, there isn't any library there.'
If you already know that iPhoto is not going to work in Catalina, you might want to backup your iPhoto photos to an external hard drive before you proceed with the Mac update. This is actually the best way to keep your photos safe as well as easy to import into the Photos app when the update is installed.
Solution: Backup iPhoto libraries to External Hard Drive
Your Mac lets you easily backup your iPhoto photos to an external hard drive and you do not even need an app to do the task. Everything that you need is already available on your machine
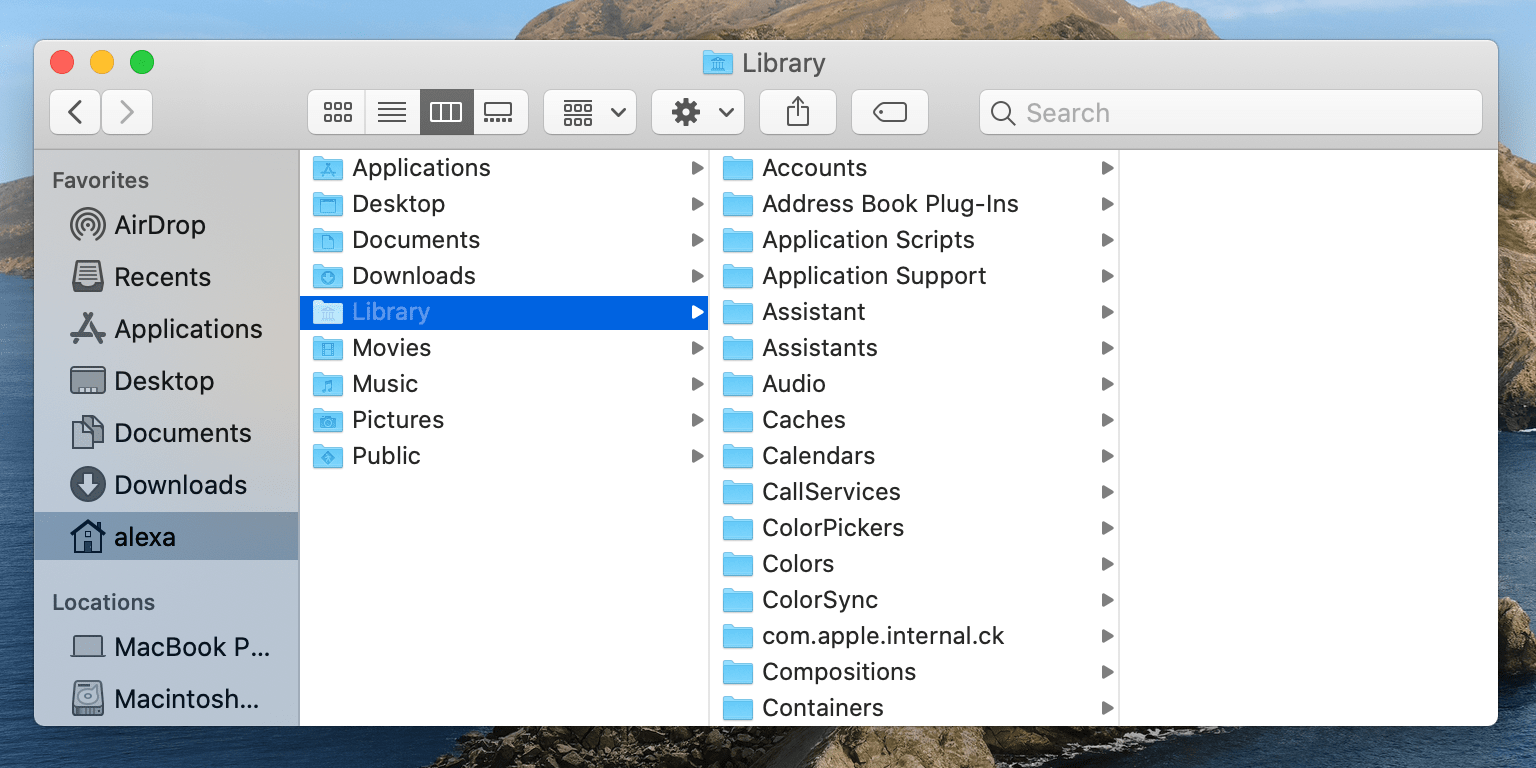
Step 1. Open a Finder window and head into /User//Pictures. Right-click on the file that says iPhoto Library and select Show Package Contents.
Step 2. Open the Masters folder on the following screen and you will see all your photos organized by their years.
Step 3. Copy these folders and paste them onto your external hard drive using Finder.
You have successfully created a backup of your iPhoto photos on your hard drive.

Sum Up
If you are wondering 'how to access my photos in iPhoto after Catalina upgrade', there are a few easy ways to do the task as described above. You should be just fine with using any method available in the above guide.
